Overview #
This guide provides step-by-step instructions on how to create, edit, and manage email templates within the system. Email templates allow you to standardize responses and enable the AI email agent to generate accurate and consistent replies.
1. Accessing the Email Templates Module #
- Log in to the dashboard using your username and password.
- From the main menu, navigate to:
Email Templates → Template Configurations
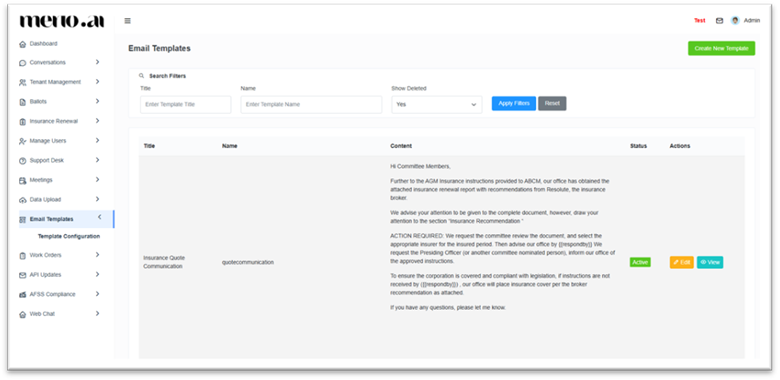
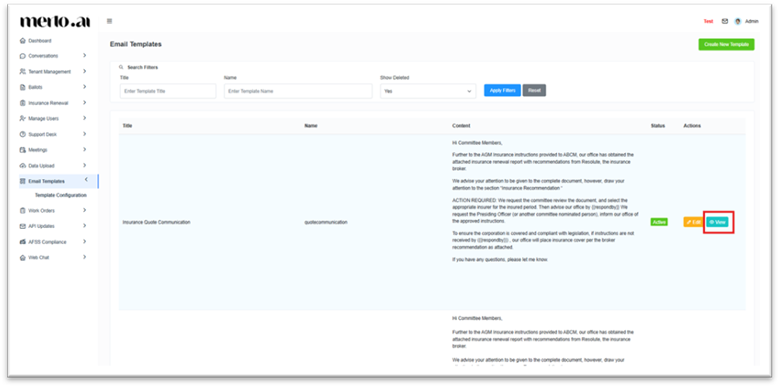
2. Template Configuration Screen Overview #
Once you access the Template Configurations screen, you will see:
- Search Filters
- Search by template title or name
- Option to show deleted templates
- Apply Filters and Reset buttons
- Template List View
Displays previously created templates with:- Title
- Name
- Content
- Status
- Actions (Edit / View)
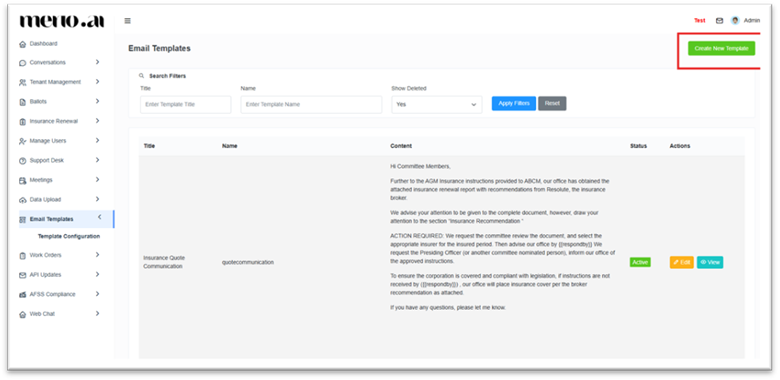
- Create New Template Button (Top right corner)
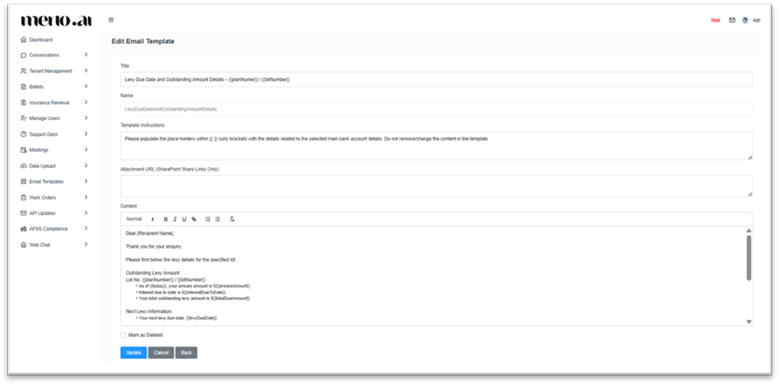
3. Creating a New Email Template #
- Click Create New Template (top right corner).
- Fill in the required details:
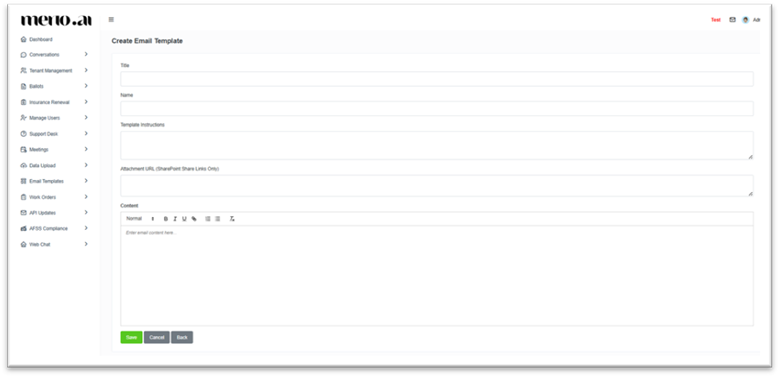
a. Title
- Enter a clear and descriptive title for the template.
b. Name (Important)
- Must be unique
- No spaces allowed
- This acts as a unique identifier used by the AI system to trigger the template
Example: LevyDueAmountResponse
Note: This name is used by the Merlo AI system to identify and apply the correct template when generating email responses.
c. Template Instructions (Optional)
- Add any specific instructions for how the template should be used by the AI.
d. Attachment URLs (Optional)
- Only SharePoint share links are supported.
e. Email Content
- Enter the email body content.
- You can format text using:
- Bold, Italic, Underline
- Bullet points / Numbered lists
4. Using Dynamic Placeholders #
To allow the AI to automatically populate values, use double curly brackets:
{{PlaceholderName}}
Example:
Outstanding Levy Amount:
Lot No: {{planNumber}} / {{lotNumber}}
- As of {{today}}, your arrears amount is ${{arrearsAmount}}
- Interest due to date is ${{interestDueToDate}}
- Your total outstanding levy amount is ${{totalDueAmount}}
Next Levy Information:
- Your next levy due date: {{levyDueDate}}
Note: The AI system will replace these placeholders with actual data when generating the email.
5. Saving the Template #
- Click Save to create the template
- Use Cancel or Back to discard changes
6. Editing an Existing Template #
- Select the template from the list
- Click Edit
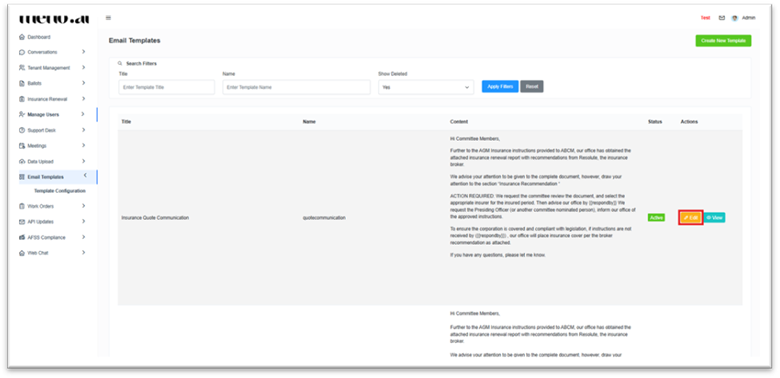
You can modify:
- Title
- Template Instructions
- Attachment URLs
- Content
Note: Template Name cannot be changed once created.
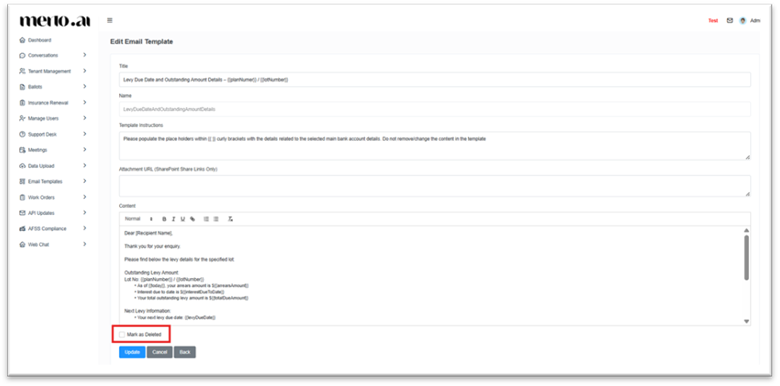
7. Deleting a Template #
- Templates are not permanently deleted
- Select the template and mark it as Deleted using the checkbox
- Save the changes
Note: Deleted templates can still be viewed using the “Show Deleted” filter.
8. Viewing a Template #
- Select a template
- Click View to see its content
9. Activating the Template (Important Step) #
After creating a template, you must notify the Merlo team:
Email: support@merlo.ai
Include:
- Template Title
- Template Name
- Template Usage (Type of Emails this Template Applies To)
Example Email:
Subject: New Email Template Created
Hi Team,
We have created a new email template.
- Template Title: Levy Due Date and Outstanding Amount
- Template Name: LevyDueAmountResponse
- Template Usage: To be used for responding to customer enquiries related to levy due dates, outstanding balances, arrears, and payment details.
Please configure this template for our tenant.
Thank you.
Once configured, Merlo AI support team will update you about the needful and the AI email agent will:
- Identify the template using the Name
- Automatically populate placeholders
- Use it when drafting responses
Best Practices
- Use clear and professional language
- Keep template names short and meaningful
- Always use placeholders for dynamic data
- Avoid modifying template names after creation
- Test templates after activation


